#sponsored
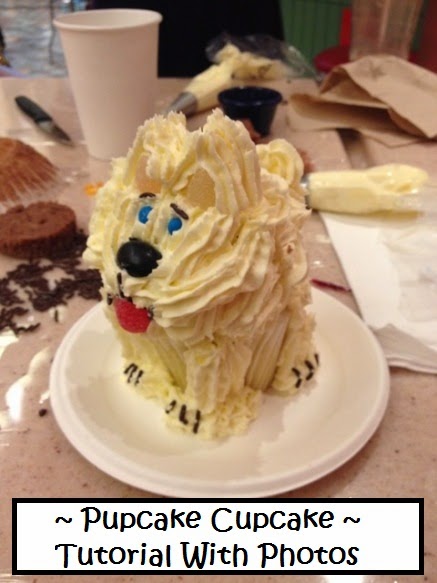
While cruising on the Liberty of the Seas with Royal Caribbean, there are endless activities on board the ship. One of my favorites was the Cupcake Decorating Class at The Cupcake Cupboard, where I learned to make a Pupcake Cupcake. I've never done anything remotely close to this, as most of my cupcakes are simply smeared with some frosting on a knife.
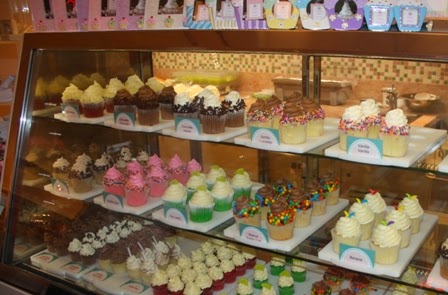
The Cupcake Cupboard is located on The Promenade Deck of the Liberty of the Seas, along with lots of other little stores and eateries. Since there were 40 bloggers in our group, we split up into smaller groups of about 10 to squeeze into the cute little shop.
Along with dozens of darling cupcake creations, there are cupcake souvenirs of all kinds inside the shop, such as charm bracelets, t-shirts, photo frames, and more. I selected a beautiful silver cupcake luggage tag with beaded sprinkles on top that just had to come home with me.
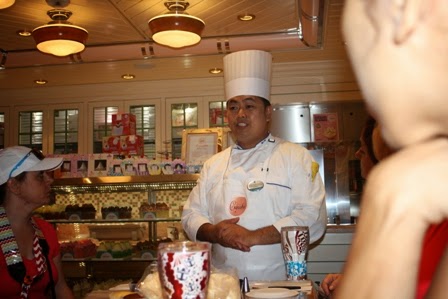
Our cupcake decorating teacher had an impressive history, a great sense of humor, and very talented decorating skills. After washing our hands, we bloggers each took a seat around the tables, ready to make our Pupcake. I took tons of photos, so I could share the process with you!
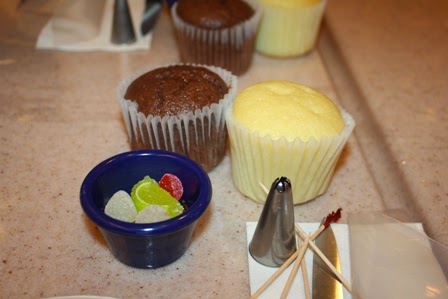
You'll need two cupcakes, two white gumdrops, a lime wedge gummy, 1/2 a red gumdrop, 1/2 black jelly bean, two blue dot candies, brown stick sprinkles, butter cream frosting, a frosting bag, a star-shaped tip, a knife, some toothpicks, and a clean work space.
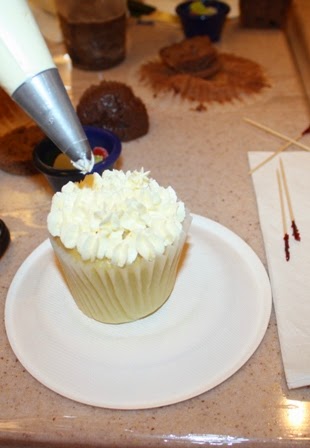
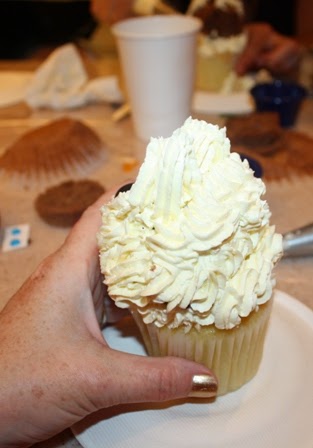
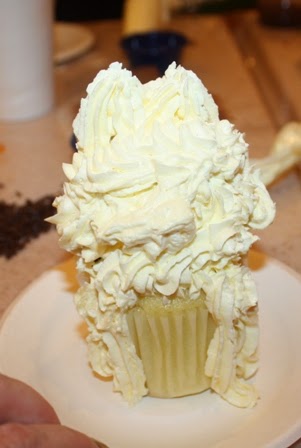
Open the frosting bag and put the tip down inside, pressing it gently into the bottom. Fill the bag with buttercream frosting, squishing the frosting down to the bottom to remove any air bubbles, then twist the top of the bag closed. Take one cupcake (leave cupcake paper on) and make little star shapes all over the top of one cupcake, by making each dot and pulling up with the bag.
Take the other cupcake (unwrap this one) and with a sharp knife, gently saw back and forth to remove about 1/2 inch of the bottom. Then cut the cupcake from the top to the bottom, removing about 1/3, so that your cupcake looks like a 2/3 circle.
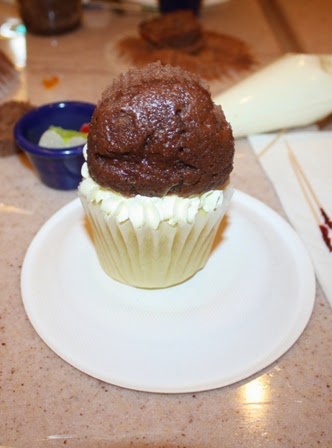
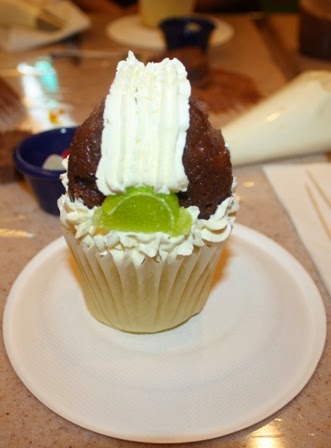
Set the second cupcake piece on top of the frosted cupcake, gently pressing the top one down. Then insert a clean toothpick to help keep the Pupcake's head attached. NOTE: When devouring Pupcakes later, don't forget there is a toothpick inside!
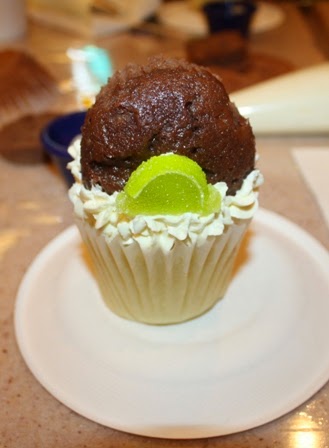
Take the lime wedge gummy and put a dot of frosting "glue" on one side of it, then set it on the bottom cupcake, on top of the frosting, in front of the top cupcake. This shape helps to give the Pupcake's face some more dimension.
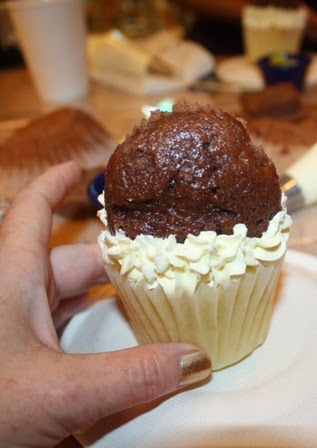
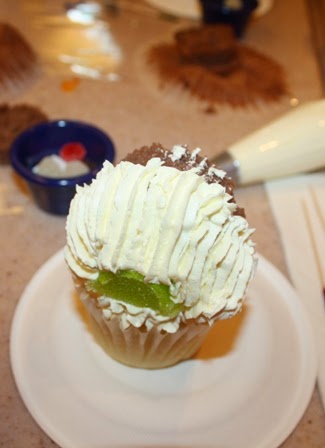
Using the frosting bag, make three frosting lines from the lime wedge upward and over the top of the Pupcake's "head," to the edge of where the "muffin top" part of the top cupcake ends. Then continue to add more frosting lines on both sides of those lines until the top cupcake is covered in the "front."
On top of those frosting lines, beginning in the center of the front, make an S shape that stretches towards the sides of the Pupcake's face. Make three S shaped lines on both sides of the face. At this point, the cupcake becomes very front-heavy, so hold onto it or it will tip over forward.
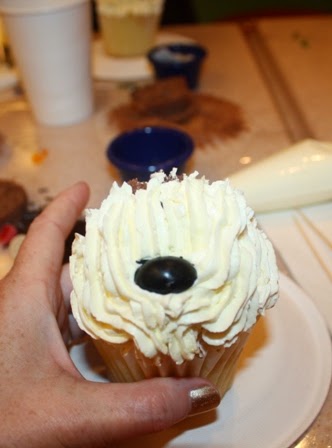
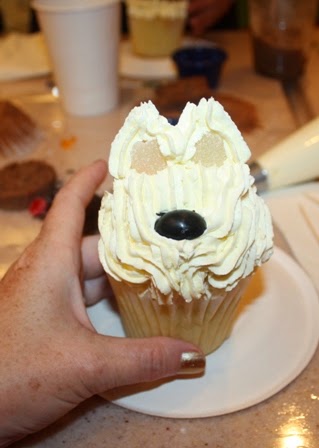
Take the 1/2 black jelly bean and set it on the Pupcake's face, pressing it gently into the frosting so that it is sitting on top of the frosting-covered lime wedge gummy. This will be the Pupcake's nose.
Take the two white gumdrops and place on the frosting on top of the Pupcake's head. The gumdrops will be the base for the ears. You can place them close together for more perky ears or separate them out a bit if you prefer.
Using the frosting bag, draw the frosting upward to trace the triangular shape of the gumdrops. Leave the front of the gumdrops exposed, but cover them with frosting on the sides and the back of the "ears."
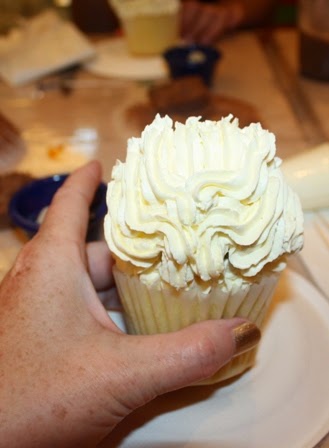
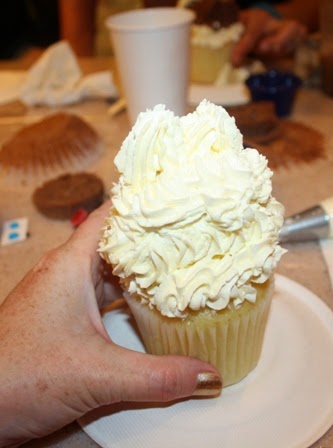
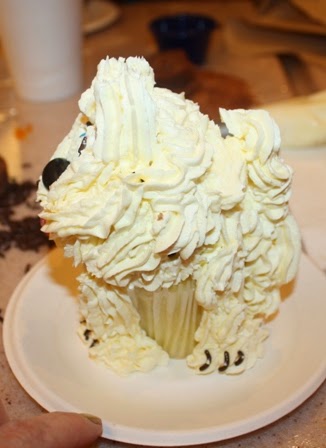
Then use the frosting bag to make either straight or swirly lines to cover the back of the Pupcake's head, so that none of the initial cupcake is showing (except for the paper-covered bottom).
I used a swirly motion for mine to make my Pupcake have the illusion of curly fur. Using swirls also allowed me to add on enough extra frosting to help weigh down the Pupcake in a more balanced manner so I didn't have to worry about it falling on its face.
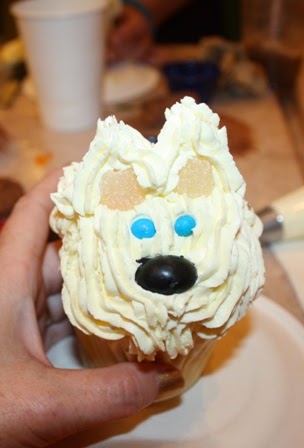
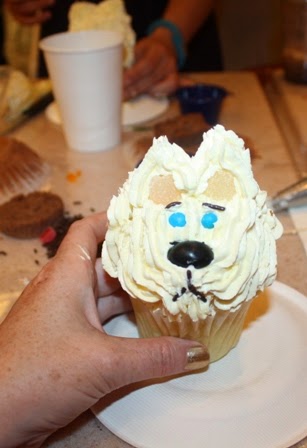
The two blue candy dots (you may remember peeling these candy dots off paper as a kid) will then become the Pupcake's two blue eyes. Again, you can place them close together or spread them apart for a bit different expression.
Take a toothpick and dip it in some extra frosting to use as a pick-up tool for the brown stick sprinkles. Select two sprinkles and place them over the Pupcake's eyes for eyebrows.
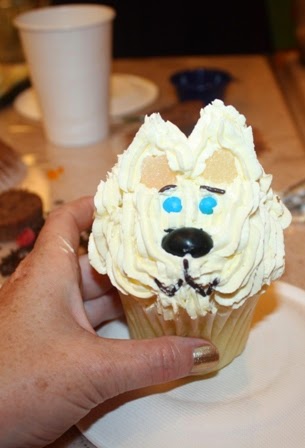
Set another sprinkle vertically under the black jelly bean nose, then add two more sprinkles at an angle downward to begin forming the Pupcake's mouth.
Then, if you want a happy Pupcake, add two more sprinkles angled at an upward slope, connected with the others already on the face.
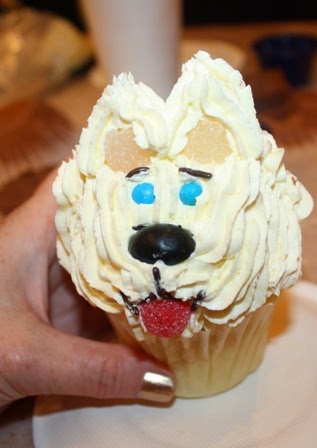
Then take the 1/2 red gumdrop and gently press it into the frosting under the sprinkles, so that the Pupcake has cute little tongue hanging out.
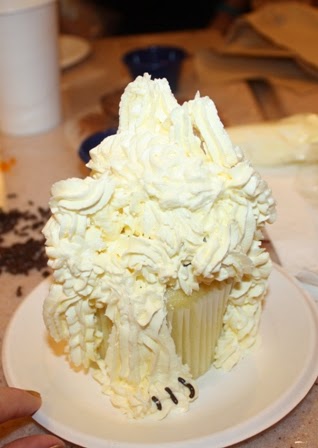
Using the frosting bag again, draw two straight frosting lines onto the cupcake paper from top to bottom, in four places around the base to form the Pupcake's legs.
At the base of each "leg" make five fluffy frosting dots to create the Pupcake's paws. The legs and paws made of frosting also help to support the slightly top-heavy cupcake creation.
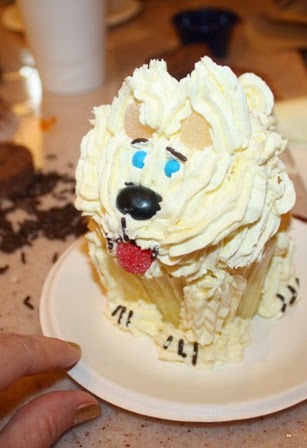
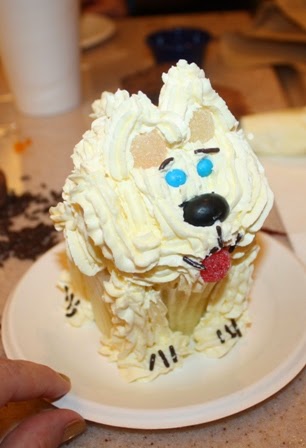
Using a toothpick dipped in a bit of frosting "glue," add three of the brown stick sprinkles to make the Pupcake's claws. I chose sprinkles that were slightly curved instead of straight. Then use the frosting bag to give the Pupcake a cute little tail that sticks up off the back. Done! Isn't it adorable???
I took a few photos of my completed Pupcake from different angles so you could see all sides of it. After learning how to actually decorate a cupcake in a step by step method, I was really impressed with my new skills. It was so much fun to make and I think I'm going to pick up a few decorating tools to try out some more decorating ideas on my own.
Be sure to read my other posts about my Royal Caribbean cruise too!
If you'd like more information about The Cupcake Cupboard, you can find that
HERE.
When you're ready to book the vacation of your life, check out Royal Caribbean
HERE.
Many thanks to Royal Caribbean and all the crew for sponsoring #SeasTheDay 2014!


That was a class I wasn't sure I would enjoy and turned out having a ball. They were so much fun to make, easy and tasted yummy.
ReplyDeleteHe is so cute and you did an awesome job creating him. I would love to take a cake decorating class, it always looks like so much fun.
ReplyDeleteSo cute! Our group made cheese burgers. I'm a frosting person so I would have LOVED to have made that one!!
ReplyDelete