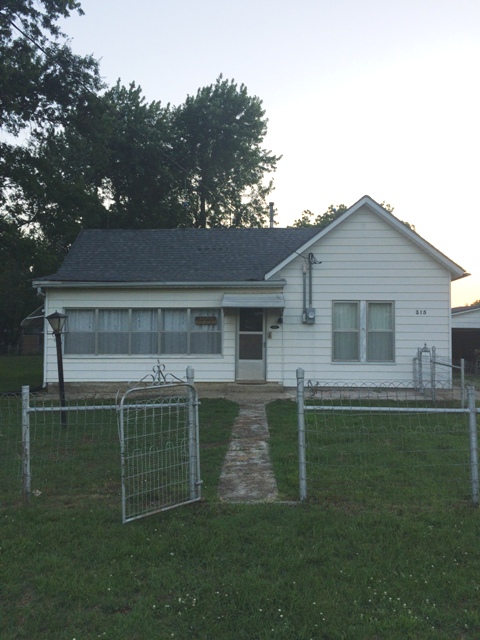
We have now officially been living in our little 1888 Kansas farmhouse for a year and we finally completed the Master Bedroom! I am so happy with it. It turned out even better than I had dreamed. I can hardly believe this is the bedroom I get to sleep in every night. There are a few links throughout the post to the products we purchased and some of them are affiliate links, which means if you click through and purchase, I earn a few cents.
THE BEFORE PHOTO
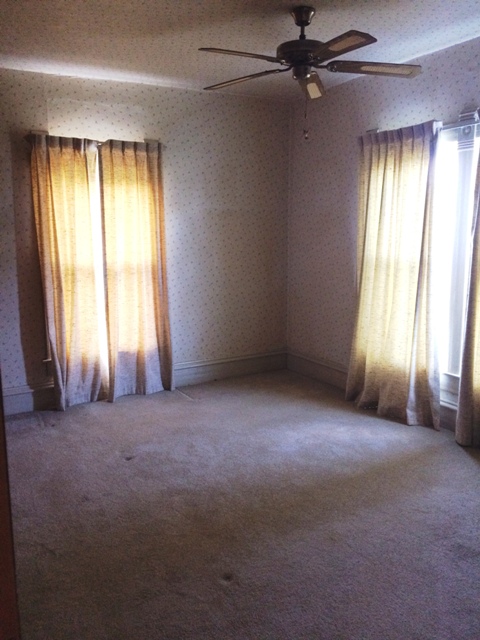
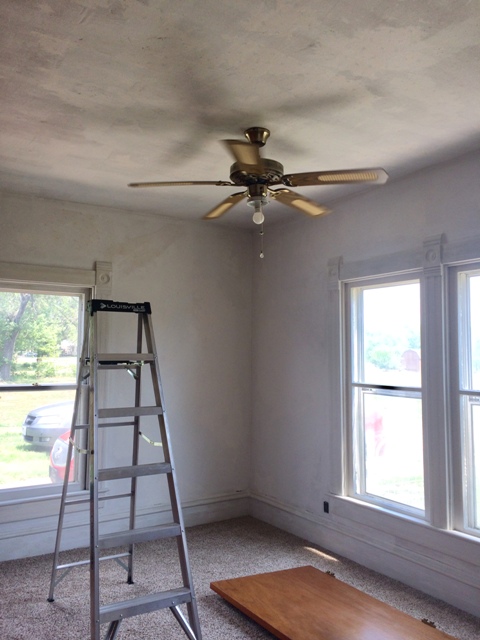
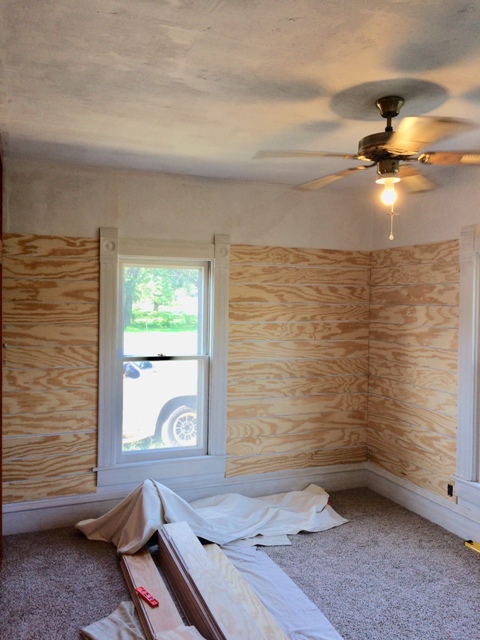
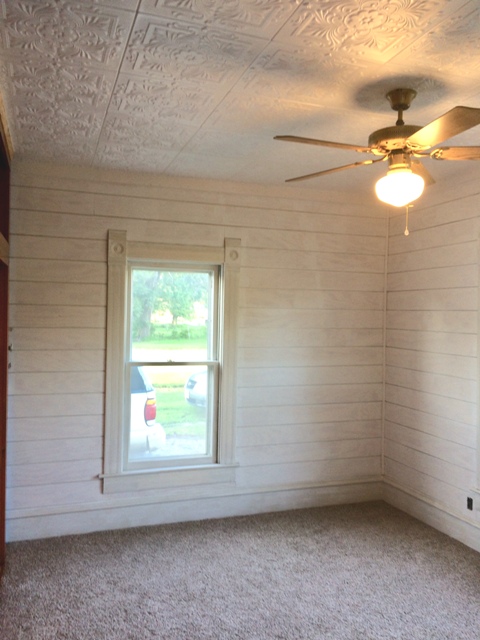
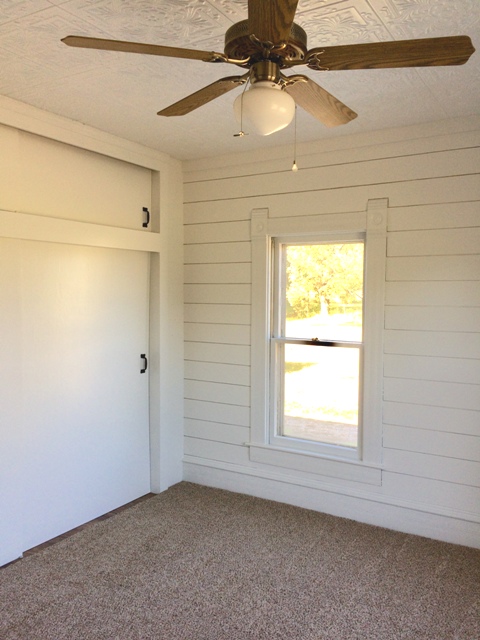
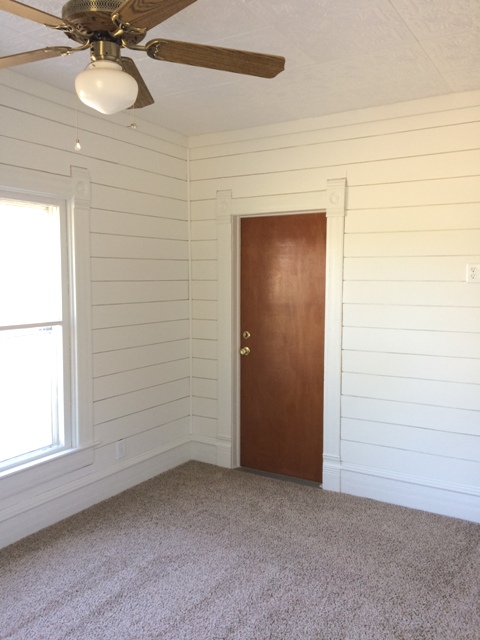
Here's what the master bedroom looked like when we bought this house:
The room had likely not been touched in many, many decades. There was very old, yellowed, stained wallpaper on the walls and the ceiling, as well as in the closet. The carpet smelled horrible, was stained and dirty, and the curtains were so old that the fabric would literally fall apart if you touched them. Everything smelled as old and worn out as it looks.
RENOVATIONS BEGIN
Before even sleeping in there, we pulled up all the disgusting carpeting and padding. We also had to crawl around on the wood floor to pull up old staples and nails. The wood floors are in impeccable condition even though they are 130 years old. Since Kansas gets very cold, my husband decided on carpeting rather than refinishing the wood floors. We contracted to get new carpeting laid down so we could move in right away. Here's the beautiful, clean new carpeting; the color is called peanut butter pie:

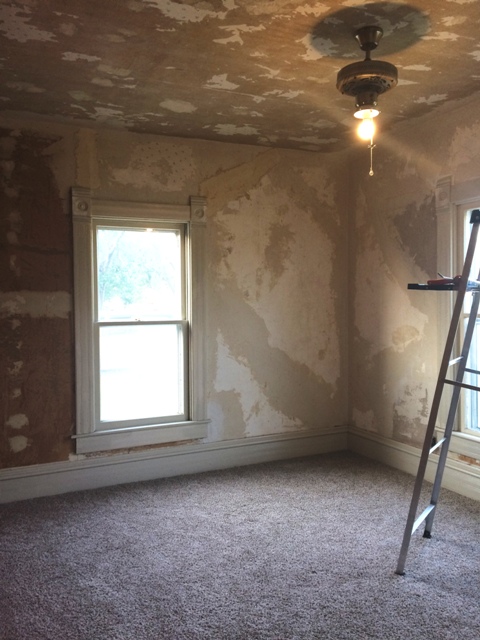
We lived with the master bedroom like this for many months so that we could concentrate on the kitchen, the bathroom, and a few other projects that needed done sooner. Since our guest bedroom was empty, we moved the master bedroom furniture into there during our master bedroom renovation. We also had boxes of stuff piled up around the edges of our living room during that time, so it was a constant reminder to get it done as soon as possible. First, I had to peel off all of the antique wallpaper:
I spent a week wetting wallpaper, scraping wallpaper, and cleaning up what I peeled off. My hands, fingertips, and fingernails were so sore from scraping and picking at all the little pieces. I also had to strip off the ceiling, which was an awful pain in the neck. Finally, I could prime the walls and the ceiling with
Kilz 2 Primer:
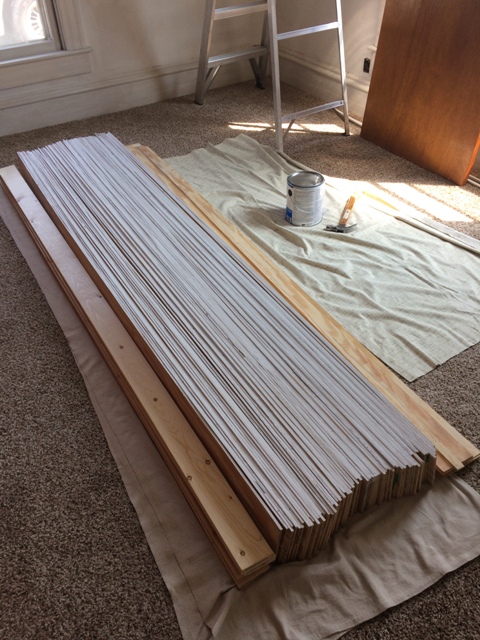
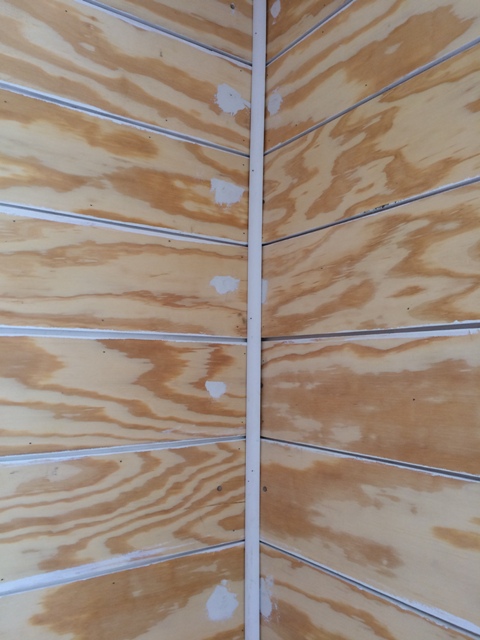
I also primed all the antique window casings, door casings, and baseboards. Originally, I was just going to paint the walls white, but I decided I wanted shiplap (or at least the look of it) in my master bedroom. It's really expensive, so we decided to make faux shiplap from sheets of 1/4" plywood, also commonly used as an underlayment for ceramic tiles. So my dear husband brought home the plywood in 4'x8' sheets, then cut each one into 6" wide x 8' planks.
To eliminate the need to paint in between planks once they were on the wall, I decided we should stack them all on their side so I could paint the side, let them dry and flip them over and do the same thing to the other side of the planks. It was tricky to get them all to stand without tipping over, but we shored them up on the sides with the 1"x4" planks that would eventually become our ceiling trim.
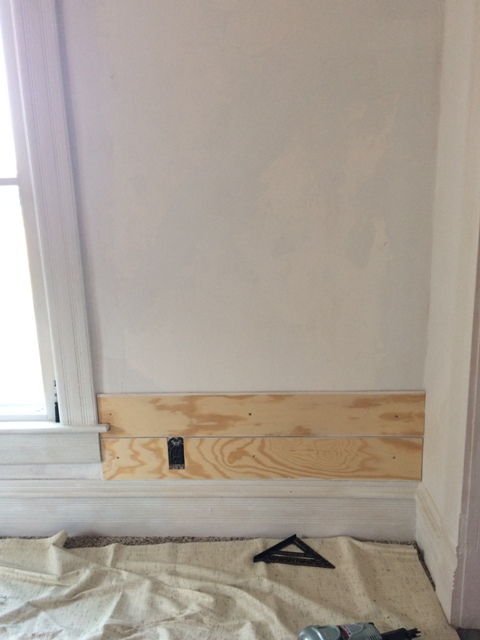
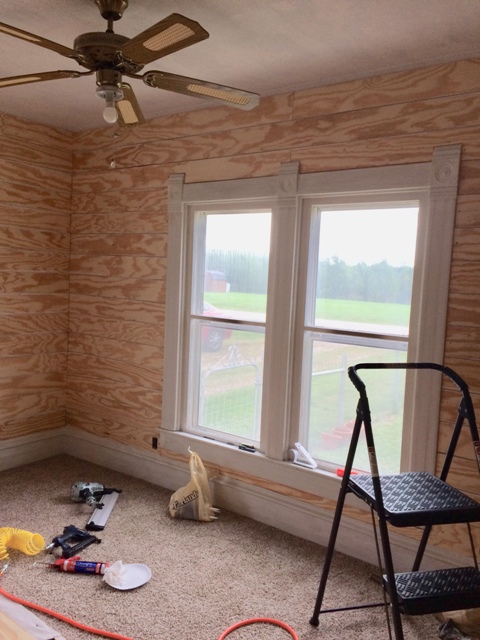
After they were dry, it was my husband's turn to work. He began putting up the "shiplap" planks with both
Loctite Heavy Duty Power Grab Glue and a nail gun, measuring and cutting each plank to fit the spaces on the walls. We decided to start at the bottom of each wall area since we planned on adding the 1"x4" ceiling trim. Plus, since a 130 year old house settles over time, we had to make a few adjustments to fit the existing shape of the walls.
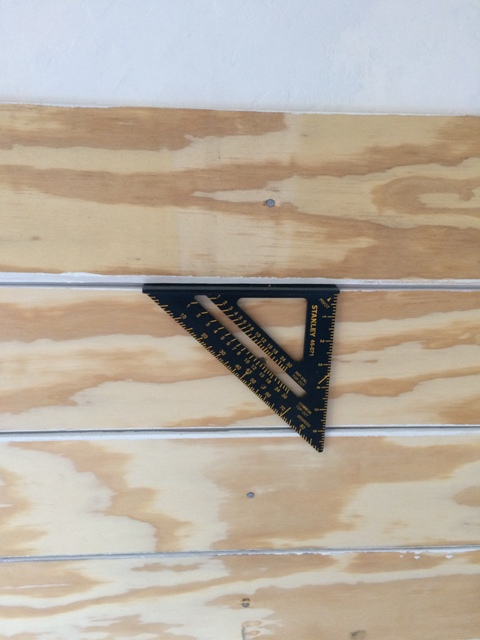
To ensure even spacing between each shiplap plank, we used a square tool that has a lip so we could just set it on the lower plank then stack the next one up on top of it. It worked perfectly throughout the entire room. To save time and work, we did not take down any of the antique window or door casings, rather we measured the shiplap to butt up against them.
Here are a few pictures of the progress:
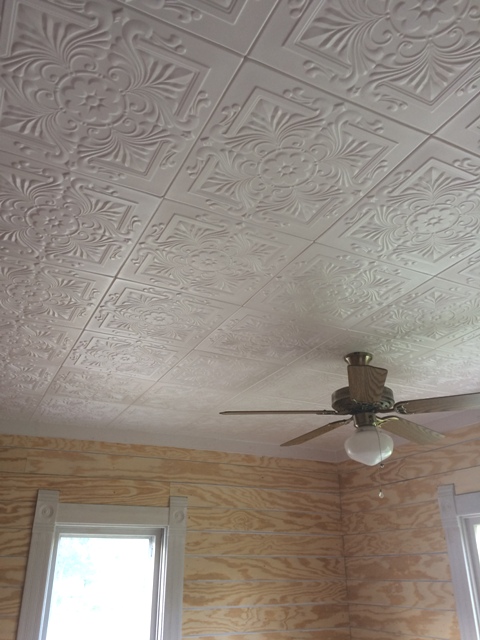
Once all the shiplap was up, we turned our attention to the ceiling. We decided on
Decorative Ceiling Tiles for several reasons: first, they are super lightweight styrofoam, second, they are easy to put up with
Loctite Heavy Duty Power Grab Glue, and third, they are absolutely beautiful. I chose the Victorian 1.6'x1.6' Ceiling Tile in Plain White.
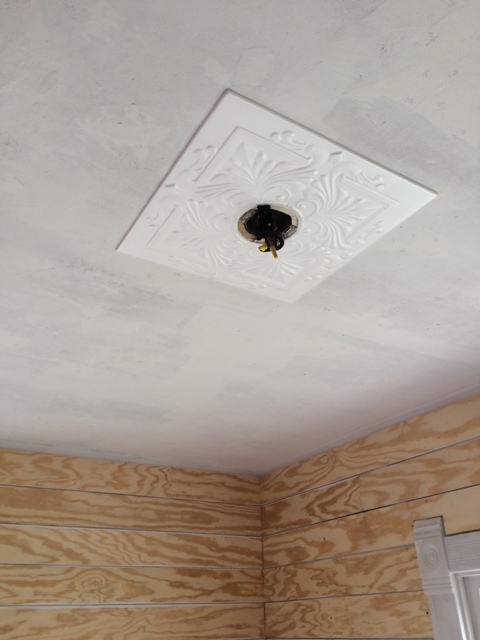
My husband started in the center of the room, cutting a circle in the middle of the ceiling tile for the ceiling fan fixture, and then working out in all directions from the center. These
ceiling tiles are beautiful just the way they come, but they can also be primed and painted if desired. I love the way they reflect light and brighten up the room.
While my husband completed the ceiling, I primed the 1"x4" planks for the ceiling trim with
Kilz 2 Primer. When the ceiling trim was dry, my husband nailed them up. We also purchased two quarter-round trim pieces to hang in the two open corners of the master bedroom where the shiplap planks come together. One of the other corners meets the closet and the other corner is part of the built-in bookcase, so they didn't need trim.
It was finally time for me to get back in the master bedroom and prime our shiplap. I am so glad I pre-primed the shiplap plank edges because it would have been so time-consuming to try to paint them once they were up on the walls. I used a
small paint roller brush and rolled the Kilz 2 Primer horizontally along the face of each plank to make sure they were covered completely. Doing it this way also nearly eliminated the worry about drips between planks. I used this same small roller when I painted the shiplap too.
I was really excited about the way the room was turning out and was ready to start painting it all white, when we made a design change and decided that we definitely needed to paint the closet inside and out. Originally we were going to push it off as a "later on" project, but since all the furniture was already out of the room, it was better to do it at that time.
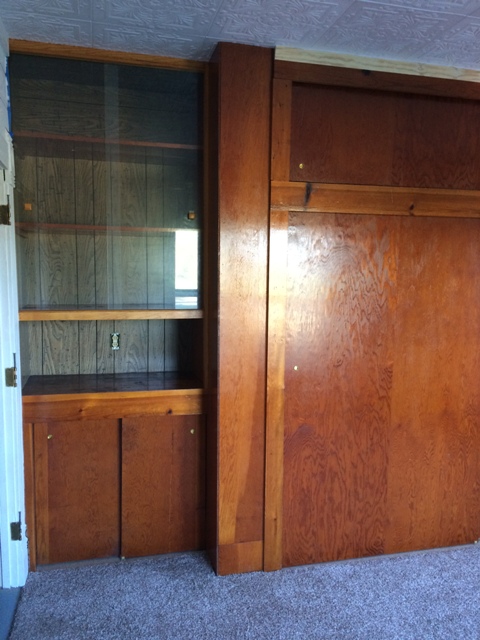
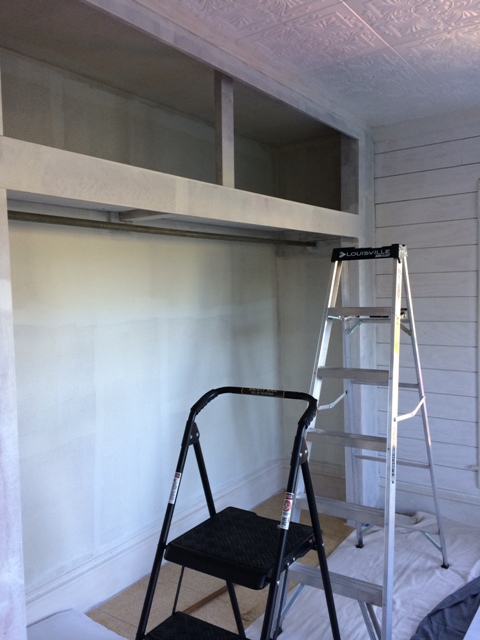
This is the master bedroom closet. It takes up almost one whole wall of the room, but has enough storage for two adults' clothing, plus storage up top for off-season clothes, suitcases, and more. We added one strip of decorative wood trim above the closet too.
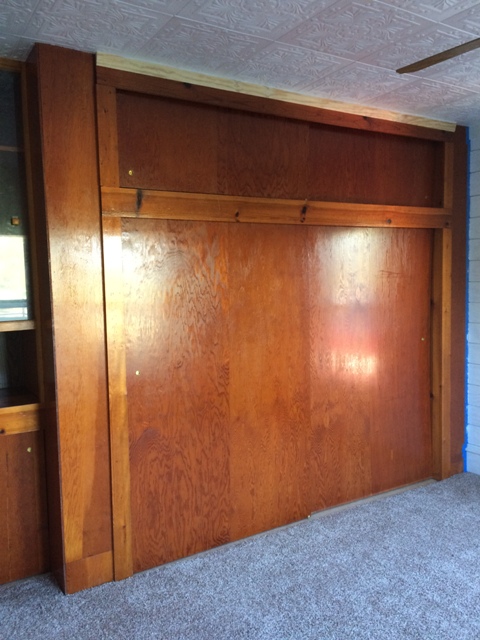
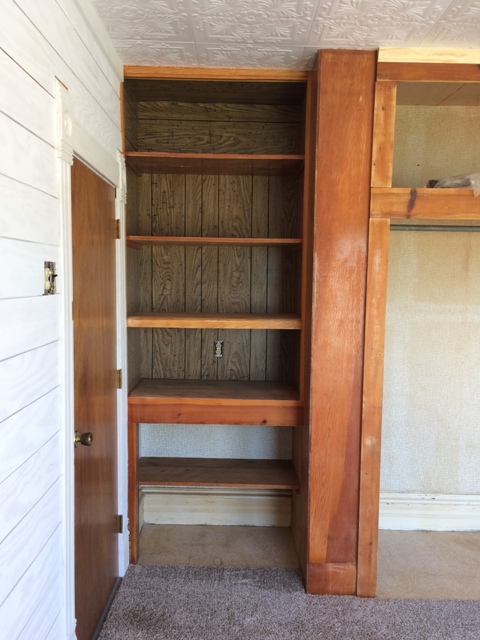
Next to the closet is a built-in bookcase. Since this 130 year old farmhouse was originally a simple two room house, we believe that where the bookcase now stands is where there was once a door between the original two rooms. In the 1920s was when the rest of the rooms were added, including a living room, kitchen, and bathroom, then in the 1950s a laundry room (yay!) and a third small bedroom (which I'm turning into a walk-in pantry) were added onto the back of the house.
We removed the cheap glass doors from the upper part of the bookcase and sanded the wood on both the closet and shelves. We took all the doors off the closet and the lower part of the bookshelves and sanded those outside.
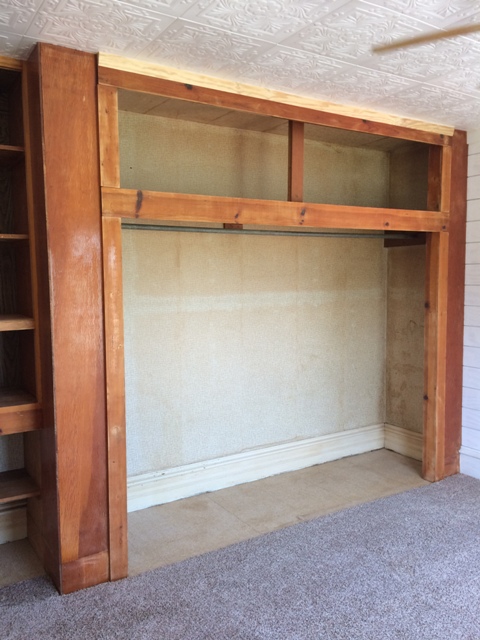
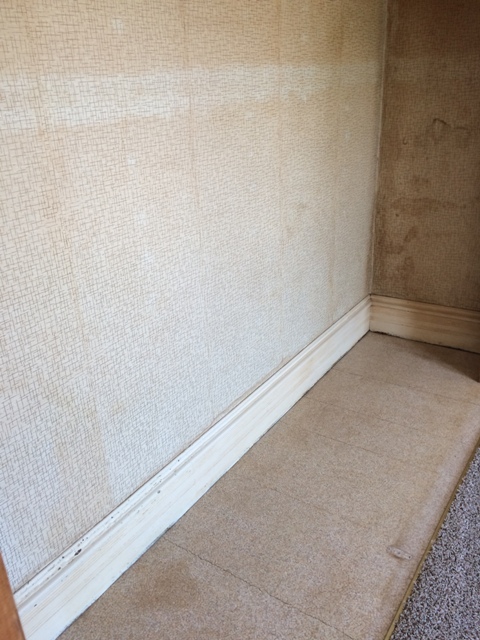
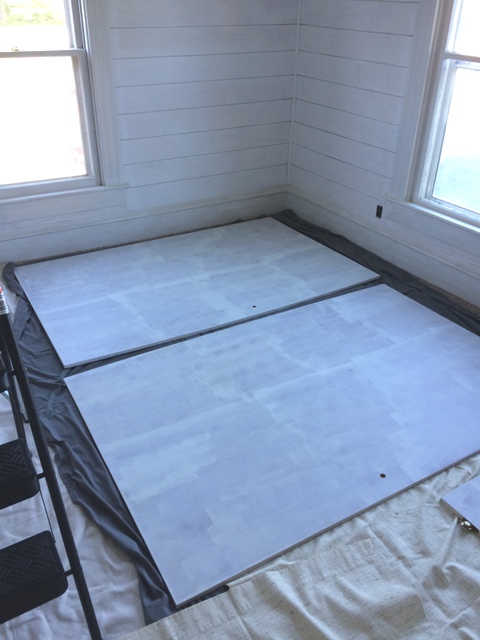
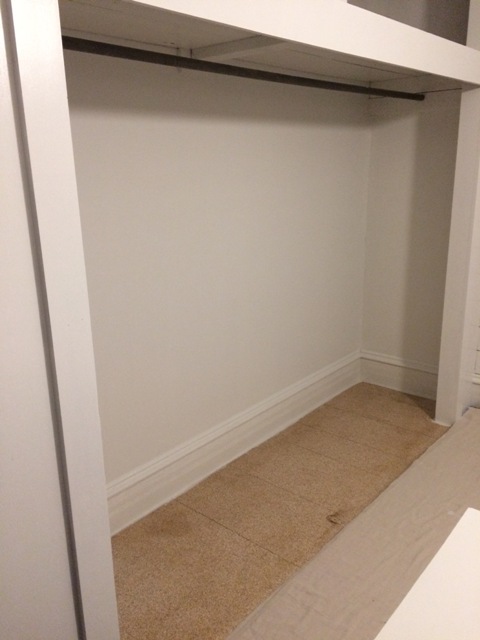
The inside of the closet was also very disgusting, with even older wallpaper on the walls, glued with ancient glue that wasn't going to let go. So I just decided to prime and paint over the wallpaper. Notice too the ugly linoleum flooring that was glued down onto the hardwood floors. Since we loved the look of the wood-look luxury vinyl tiles we used in our farmhouse kitchen and
farmhouse bathroom renovations, we decided to use it in the closet floors as well.
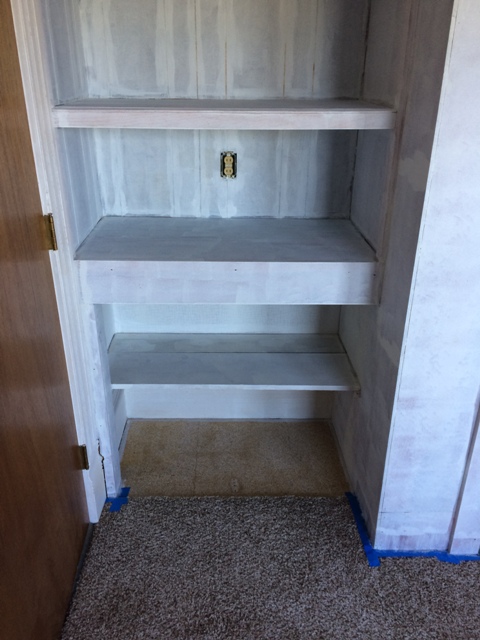
Here's a fabulous before photo of the ugliest closet in Kansas:
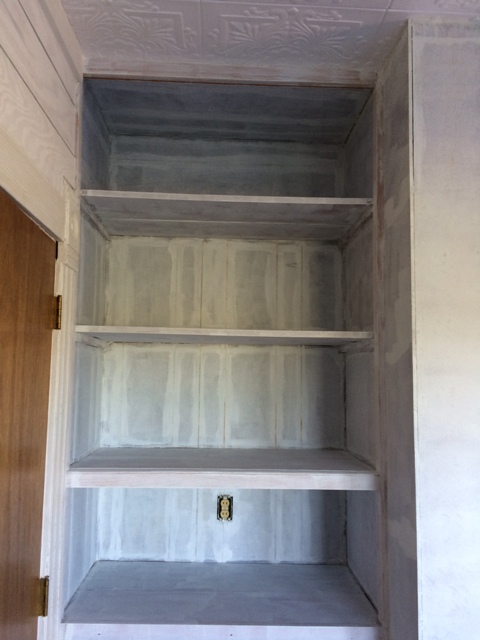
I started priming the bookshelves first:
Then I moved on to priming the closet inside and out:
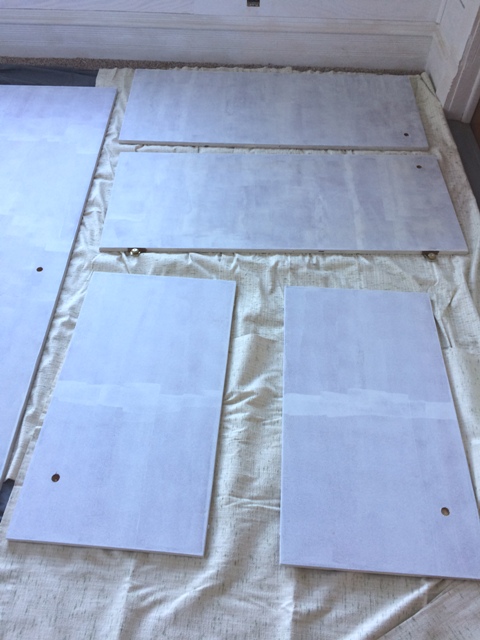
The closet doors were primed (and later painted) while they were flat on the floor. I used a full size roller for most of the closet, a short roller on the bookshelves, and an angled paintbrush for corners and edges.
My husband and I both hated the little circle indentations that were the closet door handles, so I purchased some
barn door handles and we filled the holes with
wood putty before painting the doors.
After priming the closet inside and out, I painted everything white. It seemed like I would be painting forever. All of my paint is white, Glidden Grab and Go, available at Walmart. I used a semi-gloss for the closet, bookshelves, window casings, door casings, baseboards, and ceiling trim. For the shiplap, I painted with the same white paint, but in a satin finish.
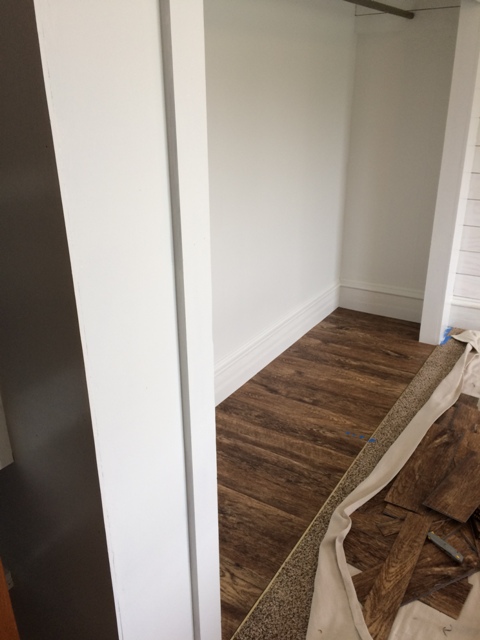
Once I finished painting the closet and the bookshelves, my husband installed the luxury vinyl tile. It's a wood-look plank and I think it looks wonderful. It's also waterproof and will easily last as long as we live. The best part of the LVT is that it can go right over an existing floor, so we didn't have to take up the linoleum.
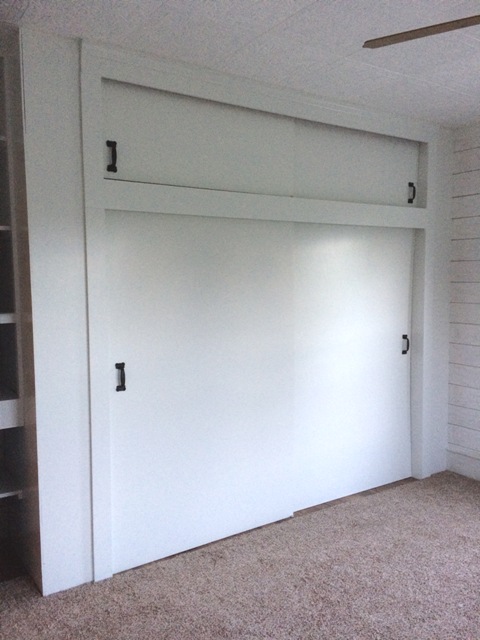
Next, we added the
barn door handles to the closet doors and upper storage doors, as well as to the little cabinet storage under the bookshelves. Don't they look amazing? I'm so glad we decided to renovate the closets at the same time as the walls and ceiling.
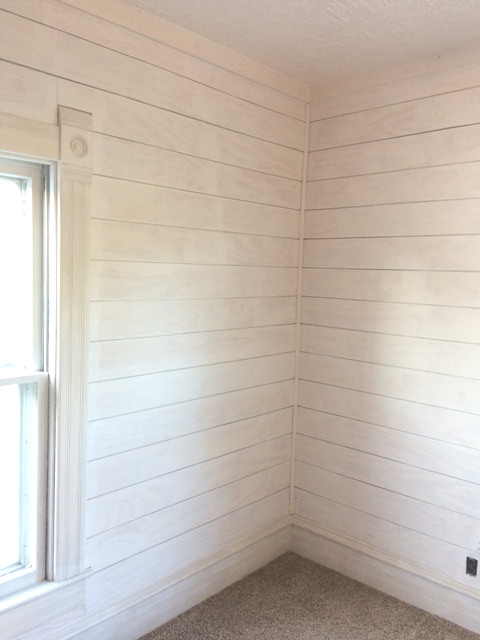
Finally, I could paint the shiplap! Two coats of white satin paint and I was done. I make it sound easy, but this room was a lot of work, with some blood, sweat, and tears along the way.
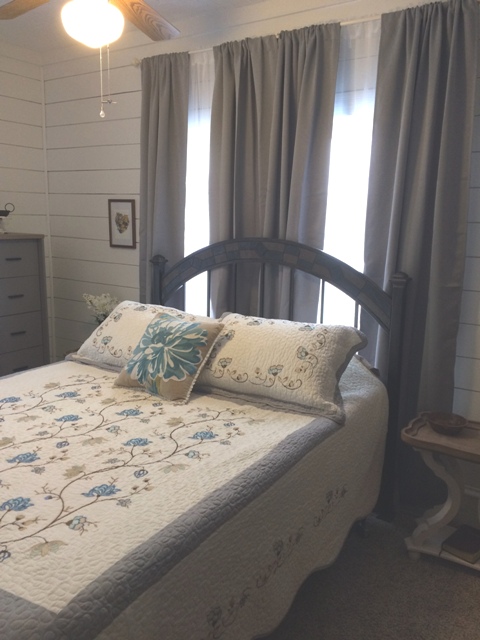
We ended up keeping the existing
ceiling fan for now to save money, but we flipped the fan blades over from the strange rattan design (you can scroll back up to the first picture to see how it was before) to what you see in the photo below.
Here is a photo of the built-in bookshelves and cabinet after painting and new handles:
I still want to put a "browner" stain on the two doors in the room. One leads to the front enclosed patio and the other leads to the living room. All the stains the previous owner (who owned the house from 1957 until 2017) used have a really red tint to them, and I prefer a walnut color, but that's a project for another day.
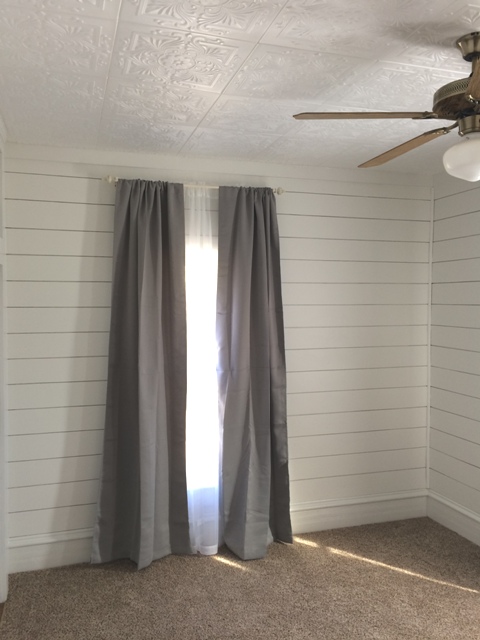
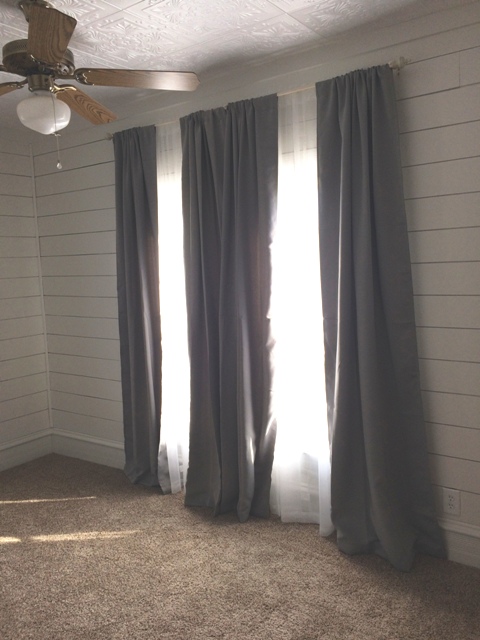
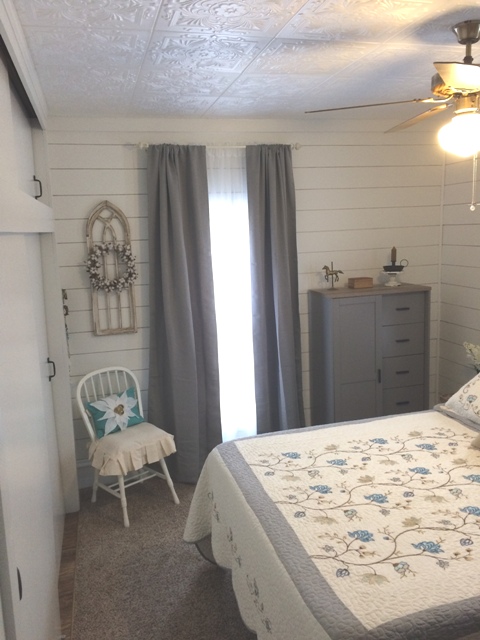
THE RENOVATED MASTER BEDROOM
I bought new double curtain rods with a distressed chippy white finish, white sheers, and
gray room-darkening curtains. We hung the curtain rods high, up near the ceiling, to enhance the 9' ceilings. Since the room is small, longer curtains make it look more elegant.
Finally, we moved all our furniture into our completed master bedroom! It was so much fun hanging up all my
farmhouse decor that I've been collecting over the past few months in anticipation of the final reveal.
Our master bedroom renovation took two months to complete. We worked on it after we got off work from our jobs daily and every weekend. It was so much work, but our master bedroom is absolutely perfect now.
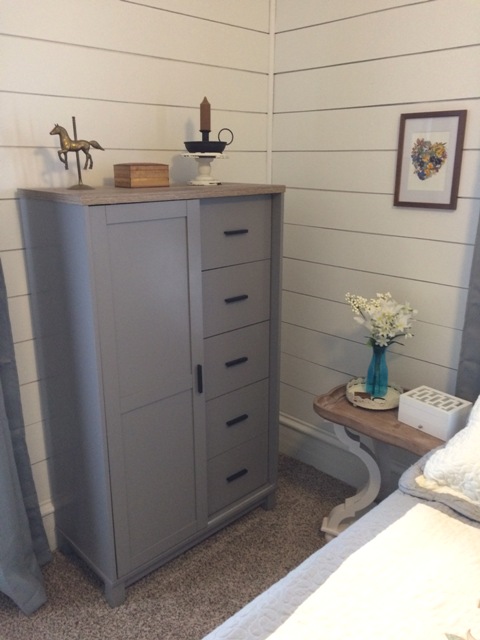
I won this beautiful, gray, barn door chest from a blog giveaway, sponsored by
Ameriwood.
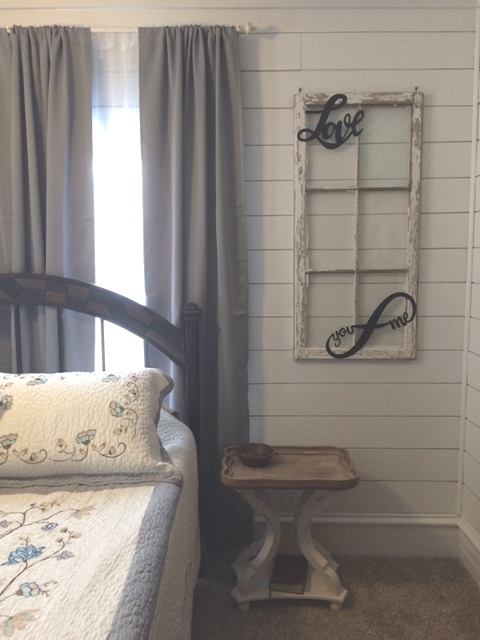
The window wall hanging (below) was a side project of mine. I took the window from an old garage side-entry door, gently sanded the curling paint off, then sealed the wood with a polyurethane in satin, attached the Infinity You and Me and the Love signs I bought from
Redline Steel, and hung hangers along the top edge to hang it on the wall.
Some of my favorite
farmhouse decor in the built-in bookshelf:
TA-DA!
Do you LOVE it as much as I do? I am beyond thrilled with it! And now, on to the next room...


No comments:
Post a Comment
Note: Only a member of this blog may post a comment.